Printing your own planner at home gives you a page that fits your week and a refill you can repeat without waiting for anything to arrive. The results are best when you treat it like a small print job rather than a quick copy: choose the paper first, print at the right scale and bind it in a way that opens flat. These are the choices we make in the studio when we test a new page.
Choose the paper before anything else
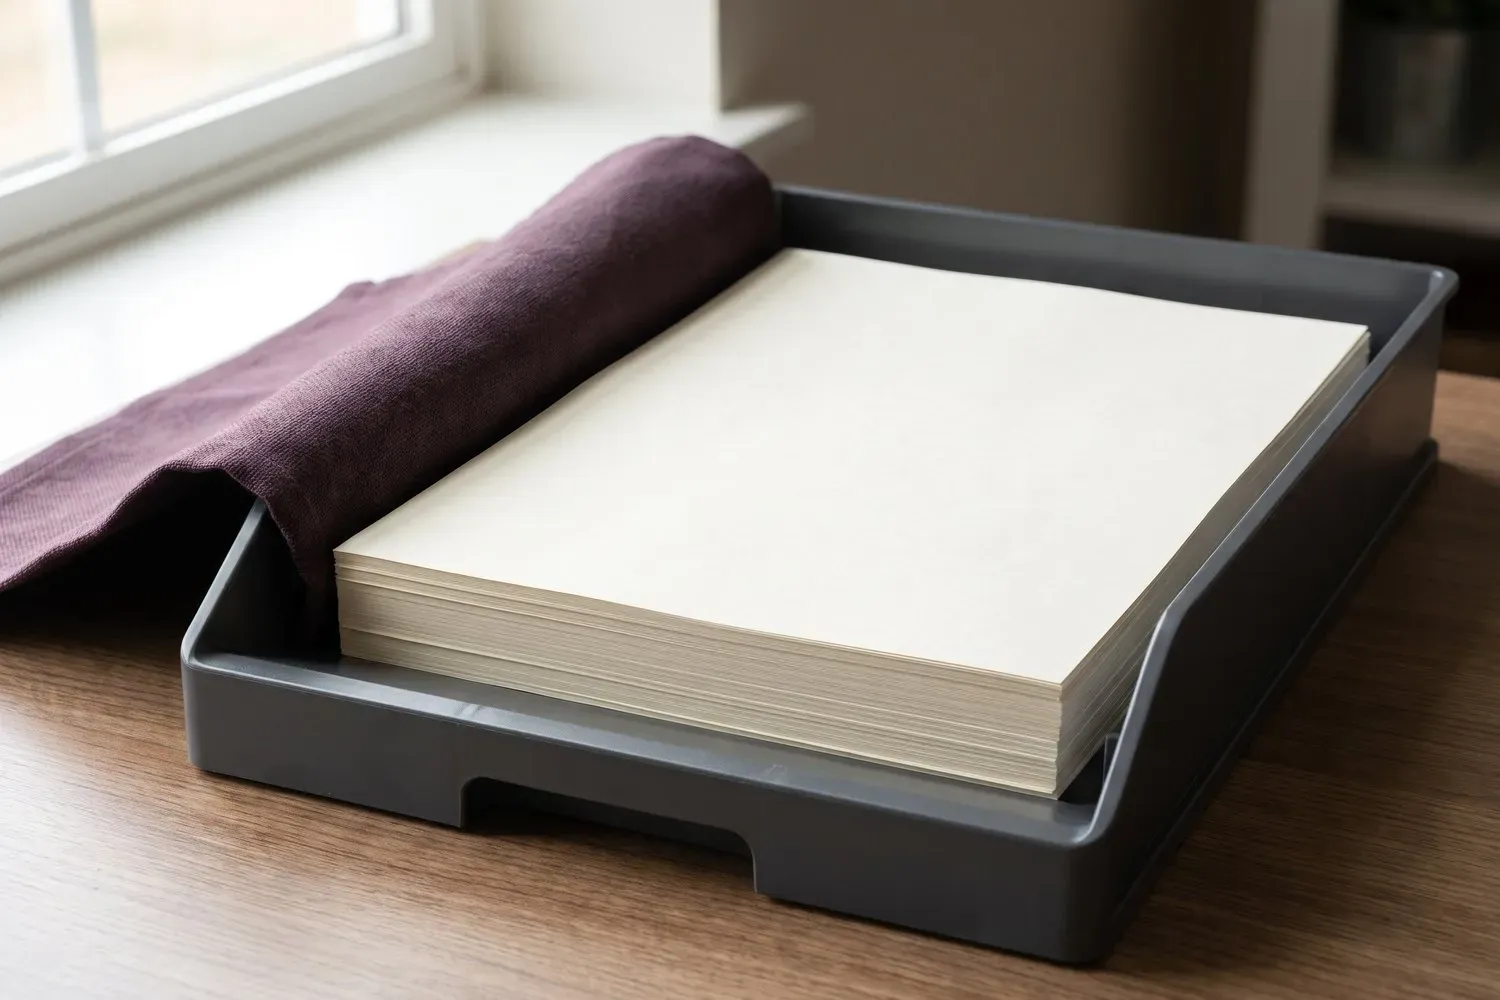
Paper decides how the planner feels in the hand and how it takes ink. A smooth 100 to 120 gsm sheet is a good balance for a planner that will be written on daily: heavy enough that a fountain pen does not bleed through, light enough that a year of pages is not a brick. If you use pencil or a fine liner, 90 gsm is plenty. If you like a wetter pen, move up rather than risk show through on the back of every page.
Colour matters too. A warm white is easier on the eye over a long evening than a bright blue white, and it sits well with the Folio palette. Print a single page on the paper you are considering and write on it before you commit to a whole ream.
Print at actual size
Most home printers default to fit to page, which quietly shrinks the design and wastes the margins you left for binding. Turn that setting off and choose actual size, or scale to 100 per cent. Check the first sheet against a ruler: the printed width should match the page size on screen. If it is a few millimetres short, the setting is still on, and every page will be slightly small.
Print a single test page before a long run. It costs a minute and saves a stack of paper. For a two sided planner, check that the second side lands the right way up on your printer settings, because the flip direction varies between models.
Bind it so it opens flat
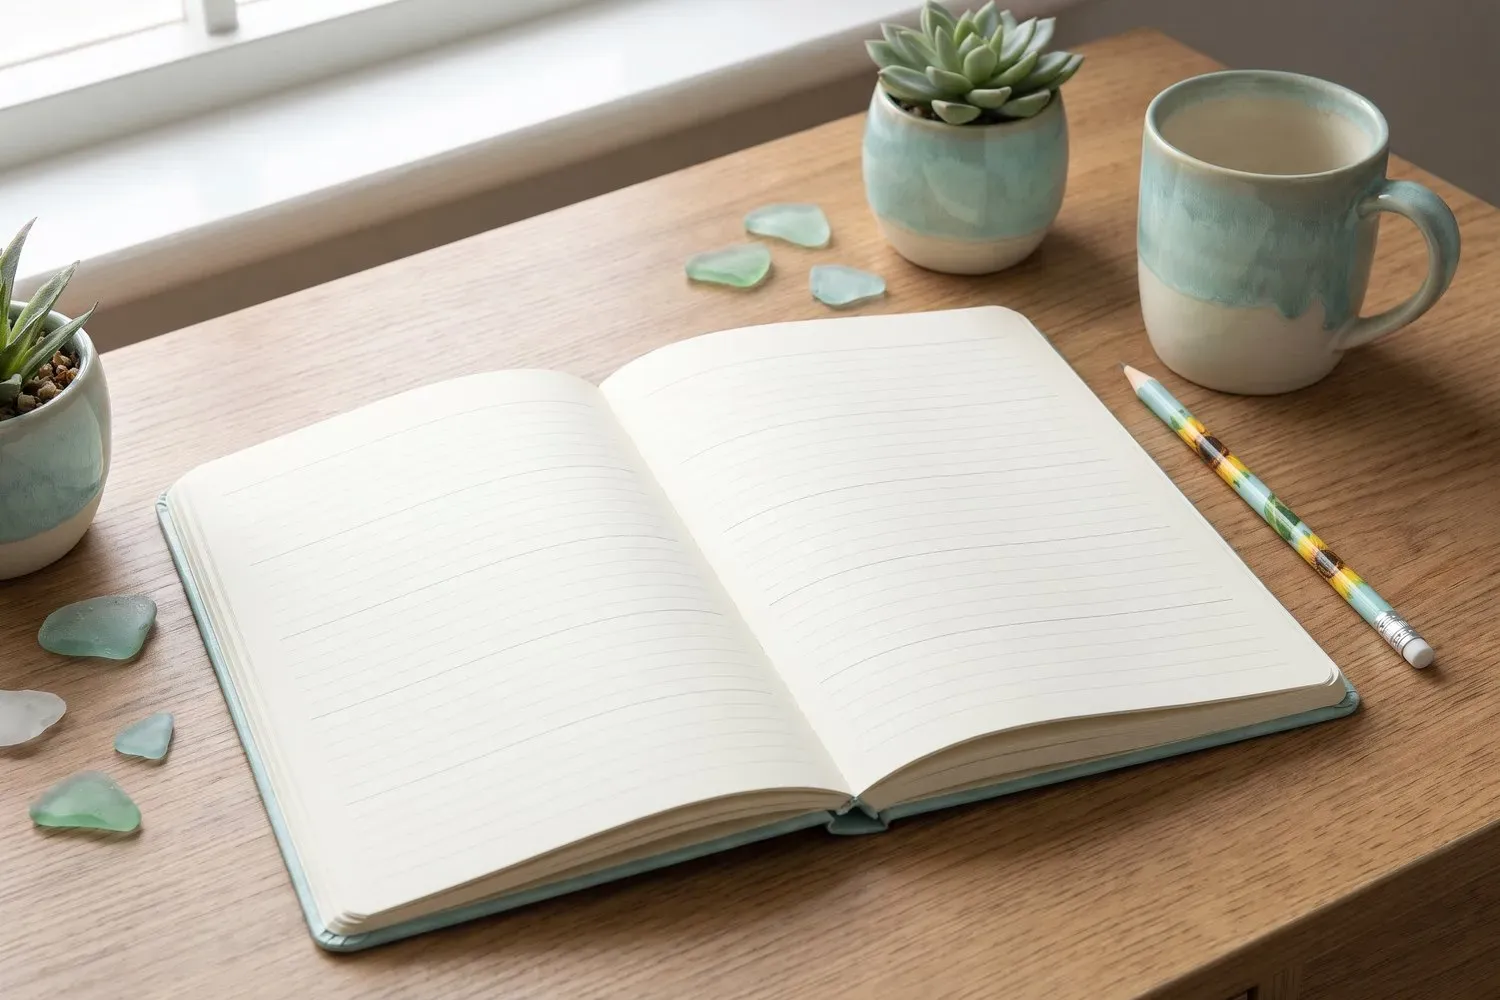
A planner you cannot write in near the spine is a planner with a dead strip down one side. Punch the pages with a consistent margin, then choose a binding that lets the pages lie open. A disc bound system and a ring binder both do this, and a comb bind is fine for a short refill. Leave at least 15 mm on the binding edge, and print the design with that margin built in rather than adding it afterwards.
Make it repeatable
Keep the settings written down where you will find them: paper, scale, duplex direction and margin. Store the file with the printed pages, so next time is a repeat rather than a fresh experiment. A planner you can reprint in an evening is one you will keep using when the first copy fills up.
- Test the paper with the pen you actually use.
- Set the printer to actual size, not fit to page.
- Print one sheet and measure it before a long run.
- Leave 15 mm on the binding edge.
- Write the print settings on the inside cover.
Every Folio download has a free sample page, so print that first and live with it for a week before you print the rest.